On the surface, the packaging design process appears straightforward. You devise a layout, select some colors, and add some text to it. Boom, you have a good packaging design. But is the process really that simple?
How do you know if this design will connect with your target customer? How do you guarantee the primary packaging customers see on the shelf will look like what you designed in Adobe Illustrator?
And if mistakes do happen, how can you keep the project on track without going over budget?
These questions, all of which require answers, illustrate that there’s much more to the packaging design process than simply assembling a few layouts and logos. It’s a rigorous process that requires attention at every step. As such, we thought we’d dive into the details of product packaging design and provide you with an end-to-end look at the process, from early design concepts to final print.
Step 1: Design Concepts
The first and most important step is establishing a game plan from the beginning of concept creation. This will be the first of many design possibilities you’ll test. The final product package may not look exactly like this concept, but you will have plenty of opportunities to refine it over time.
This process begins with a design brief that informs the early planning stages, typically detailing project objectives and goals. This is the first step, but remember that the brief must be supplemented with multiple phases of primary and secondary research. Each research step helps you understand the opportunities for your visual design choices, brand positioning, and key differentiators.
Include information about your desired outcomes, target market, and other details that’ll come into play later. These may include colors, specific fonts, logos, or other types of brand imagery. And if possible, include some examples of projects you’d like to give your designers more data to work with.
These are crucial concepts to lay out early in the process. Fifty-six percent of fast-moving consumer goods professionals agree that late-stage design decisions are weak, so don’t put them off.
Validate Before Continuing
Your goal here is to provide an easy-to-follow roadmap for the design that outlines everything from start to finish. Create a framework and ask others in your organization to help assess the blueprint. Does the master plan seem viable with your available resources? Does it meet your project goals? Will it be printable when it comes time to press?
But don’t just look inward! Utilize consumer testing, including focus groups, to your advantage and validate your concepts before proceeding. Test multiple concepts against each other and your competitive set to determine which options yield the best results. Typically, you will conduct one round of testing during this early concept stage and at least one more before it is finalized and ready for print. The messaging needs to work hard as it will capture 40% of sales conversions, so make this step a priority.
Step 2: Copy Assessment
Once your design concept is mapped, it’s time to nail the words. This step is about collecting, approving, and locking the real copy that will live on every packaging layer—from outer packaging to secondary packaging and everything in between:
- Product name
- Claims and key messaging
- Instructions / Usage
- Contact information
- Barcodes
- Legal info & NLEA requirements
Here’s the deal: skipping real copy during the design phase might seem like a shortcut, but it’s a trap. Placeholder text creates hidden landmines in the packaging process. One tweak to your claims, and you risk a cascade of changes across your label design, graphic design, and final design layouts. That’s time and money down the drain.
Get your copy right, right now. It’s a wise investment. Strong copy isn’t filler—it’s part of the consumer experience. In fact, 63% of buyers say packaging impacts their brand perception almost as much as the brand name itself.
Collect every piece of copy into a single, shareable file early. This makes it easier for every stakeholder in your brand team, including your graphic designer and legal reviewer, to weigh in without slowing down momentum. Plug it into your collaboration platform, integrate it into your custom packaging specifications, and keep the packaging process streamlined.
Great design and great messaging aren’t separate. They win together.
Step 3: Artwork Review
Now that your copy is ready, you can begin rolling out the artwork.
Here, you’ll apply your production designs to each SKU in your product line, based on each product’s packaging characteristics. This process is performed by production artists, who apply the details of each specification into print-ready files. These files, in turn, will be used in the final printing process to bring your design to life.
It’s essential to double-check the placement, sizing, and, most importantly, the dielines of every design element for every SKU in your printing project. Dielines will outline the scale of each component, cut lines, eyemarks, color mapping points, and any other elements to be incorporated into the design, so it’s of utmost importance that you map out these guidelines correctly.
Review these guidelines after creation to ensure they’re accurate and consistent across each product. It’s good practice to leverage visualizations at this stage to help get a feel for each design before it goes to print. 3D renders and physical mock-ups are the main choices here. Both tools help a packaging designer understand how their vision would look in reality, as well as showing how the design appears from different positions and angles.
This type of planning can pay off in the long run, as one survey shows: 73% of consumers agree that the design of a package provides insight into the product and its potential re-purchasability.
Again, validate each design with your stakeholders before moving on. These milestones keep everyone on board, but more importantly, reduce the odds of unexpected reworks.
Step 4: Prepress
Your retail packaging artwork is approved. Your stakeholders are aligned. Now it’s time to make sure your design looks just as powerful in real life as it does on your screen.
Prepress is where the packaging industry brings ideas to life. It’s a highly technical stage in the packaging process, where your design gets reprocessed, optimized, and prepared for flawless package printing. It’s not optional, it’s essential.
Most cardboard and flexible packaging solutions use the CMYK printing process. That means separating your packaging design ideas into four color plates: cyan, magenta, yellow, and black. Because digital screens and physical prints speak two different languages, some color adjustments are inevitable to keep your brand story sharp and consistent.
No two presses are the same. That’s why you need to calibrate using custom press profiles, which are like drivers for your printer, to ensure accurate reproduction across every packaging structure, from outer packaging to inner packaging.
Before you green-light the final run, you’ll also need to check for registration errors, overlaps, or any technical glitches that could throw off your design strategy at the last mile. One test print can save you from costly mistakes and ensure your packaging solution looks as strong in hand as it did in concept.
At SmashBrand, we treat prepress not as a formality, but as the moment your brand story becomes tangible. Get it right and win on the shelf.
Step 5: Hardcopy Color Proof
Now comes the moment you’ve been waiting for, seeing your pallet packaging design come to life in the real world. It’s time to produce a hard copy color proof.
This isn’t just a formality. The proof is your final line of defense against color mistakes that can quietly wreck an entire brand launch. Use a color reference chart to check your shades with ruthless precision. Even slight deviations can derail branding efforts. Remember, 90% of snap purchasing decisions are made based solely on color. Get it right, or risk getting left behind on the store shelf.
Make sure your hardcopy proof is ISO certified. It’s the quality standard that serious brands demand because if you wouldn’t buy a used car without a safety inspection, you shouldn’t accept a color proof without certification.
Your packaging dielines, logo design, and brand guidelines deserve this level of rigor. In today’s world of digital printing and fast-moving consumer expectations, anything less is a gamble you can’t afford.
Your packaging design and printing process aren’t complete until your color proof passes the test. Make sure it does.
Step 6: The Production Process
After the strategic grind and creative development, it’s finally time to bring your packaging design to life. This is where package design development meets real-world production.
First, your final packaging concepts and design files are translated into physical press plates and cylinders, built directly from the approved artwork. Whether you’re crafting box packaging design, wine packaging design, or food packaging design, the process demands precision. There’s no room for error.
To safeguard quality, printers create a STEP file, an ISO-approved format similar to a PDF, to lock down your packaging design and development specs. This ensures that your vision remains consistent throughout the packaging, processing, and printing processes, from system to system. STEP files guarantee that nothing shifts, nothing is lost.
With the STEP file created, press plates for each color are made. Once plates are ready, you’ll schedule the production run to the point of no return. Double-check everything against your brand guidelines: design layout, substrate fit, and color match. In the packaging process design, this is the moment that decides success or failure.
After final approval, your packaging is printed onto the selected substrates through digital printing or traditional methods, depending on the project. Whether you’re launching art print packaging ideas or mass-producing a new food product, your final printed packaging will hit the shelves with precision.
The production process is about ensuring that every piece of your packaging design ideas translates perfectly from digital concept to shelf impact.
Because in today’s competitive retail landscape, winning designs are built through rigorous package development processes that refuse to compromise.
Packaging From Design to Print.
Hopefully, we have demonstrated that there is more to a successful packaging design project than you might have expected. Given its complexity, businesses must hire professionals well-versed in packaging design, as the process differs significantly from other digital design mediums.
There’s a lot that can go wrong during the package design process, so we suggest taking the time to validate and review different designs along the way. However, in most cases, companies need to work with a specialized packaging design agency that can guide them through the details.
Maintain order and establish repeatable processes for validation at predetermined milestones to ensure consistency and repeatability of results. This is the easiest and most efficient way to keep your packaging design process under budget and on schedule.
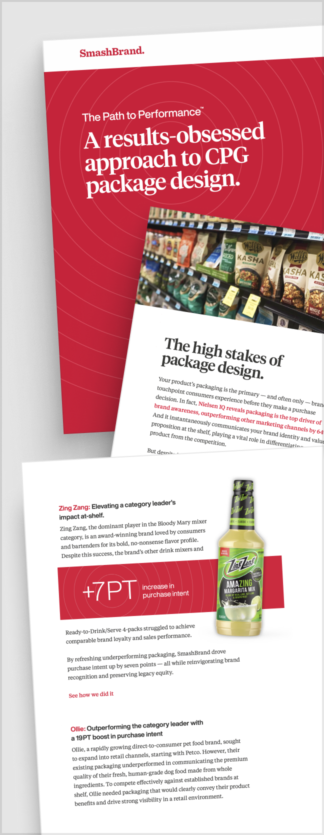
Path to Performance™
Taking a results-obsessed approach to CPG package design.
Discover how SmashBrand’s proprietary process, rooted in scientific principles, informed by data, and validated by your target audience, eliminates the guesswork from package design and delivers guaranteed results.
Data-Driven Brand Development For CPG Brands
Whether you’re launching a new product or undergoing a packaging refresh, we can help. Our PathToPerformance™ packaging design process guarantees a retail performance lift. Book a time to discuss your project with our team.
Nice Package
Don’t miss out on our monthly newsletter Nice Package!
Each month, we deliver a data-driven newsletter directly to your inbox, unpacking a critical topic in the FMCG & CPG industry.
"*" indicates required fields

Kevin Smith is the founder of SmashBrand, a brand development agency specializing in the CPG and FMCG sectors. Under Kevin's guidance, SmashBrand seamlessly integrates brand strategy, design, and detailed consumer testing, ensuring impactful market outcomes and enhanced sales velocities for its clients.
Key milestones in his career:
Before establishing SmashBrand, Kevin ventured into entrepreneurship with Nutri-Sport at 21. Recognizing the untapped potential in sports nutrition, he rapidly expanded to seven retail locations within a year. This success led to the formation of a distribution company serving all nutrition stores throughout Arizona.
Subsequent ventures included pioneering e-commerce stores and launching Athletic Xtreme, a globally distributed sports nutrition brand. Notably, Athletic Xtreme won BodyBuilding.com's Brand of the Year in 2006 and found its place on the shelves of major retailers, from GNC and Vitamin Shoppe to Walmart successfully exiting in 2014.
Apart from brand milestones, Kevin's journey includes commendable service as a Marine Corps veteran, where he was honored as a DOD Marine of the Year in 2001.
While leading SmashBrand and investing in budding brands, Kevin is committed to mentoring aspiring CPG entrepreneurs. His profound industry knowledge, from grasping retail trends to understanding shelf dynamics, serves as invaluable guidance for brands striving to carve out their niche.
Central to Kevin's approach is a consistent philosophy: Marry actionable, data-centric findings with proven strategies to ensure brands stand out and succeed in retail.
Subscribe to
Nice Package.
SmashBrand’s Nice Package: Stay current with our latest insights
Free Resource.
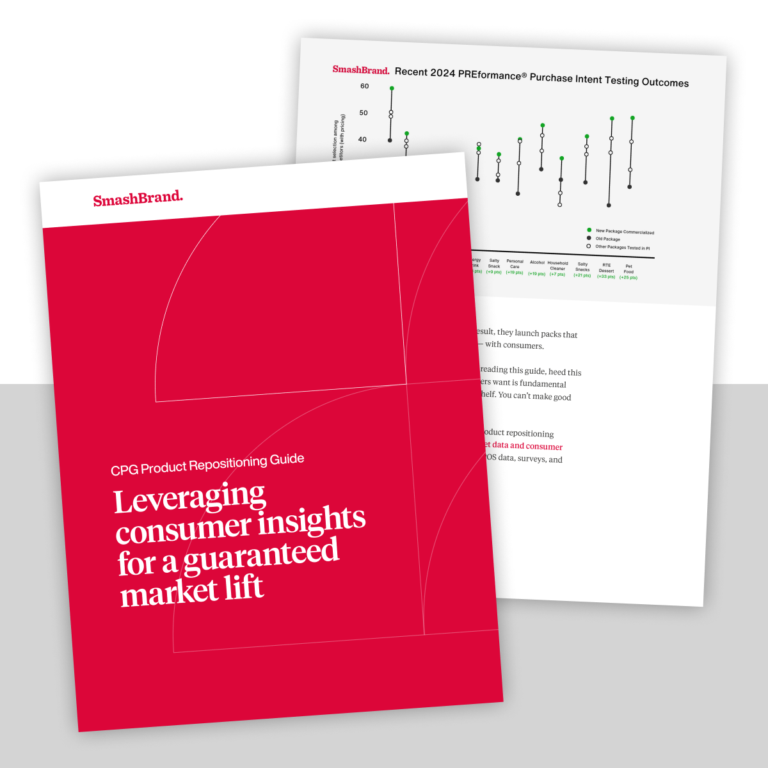
CPG product repositioning guide.
Explore the five undeniable signs your CPG product needs repositioning along with strategies for leveraging consumer insights for a guaranteed market lift.
Download Whitepaper About CPG product repositioning guide.